A particularly nice and sustainable DIY project for boring rainy days is making soap with children. Whether from fresh soap flakes or leftover soap scraps - soap can be made with just a few tools such as paints, a special shape or even materials such as beads. This not only makes a great gift idea for family and friends, but also an activity for children to drive away boredom and implement new ideas together with the kids. Of course, you shouldn't let your children make soap without supervision, as accidents can happen. But together with you or as a family, even the little ones have a lot of fun making children's soap and the like. Try making a soap with a special scent. To ensure that making soap with children is a complete success, we have researched the perfect instructions for you.
DIY project: Make your own soap with children
There are a few things to consider when making soap, especially if you want to do it with children. Depending on the method you use, making soap can be dangerous and children should therefore always have support, especially when making soap. However, it is better to make soap with your children from soap flakes, soap bars and soap scraps than soap making and dealing with caustic caustic soda. Children's soaps can be a great DIY for the next child's birthday party, but they are also a great gift idea for relatives. With bright colors, cute shapes and exciting materials, washing hands is much more fun. Are you wondering how it works? Then pay close attention, we have a simple recipe for the whole family.
DIY children's soaps - A simple guide for children
If you want to make your own soap with your children, you should prepare your work area well. It is best to cover the table well so that the wood does not become discolored or stained. A simple tablecloth is enough for this, or newspaper is also ideal. Of course, you will also need a number of materials, but don't worry, you will probably already have most of them at home anyway. To give you a better overview, we have put together a practical list of the necessary materials for you. This way you can easily tick off the products you need.

What you need:
- Soap blocks, curd soap, natural soap, soap residues or an old soap bar or soap flakes
- A kitchen grater
- Various bowls
- Soap dyes or food coloring
- Fragrance oils
- Various shapes such as cookie cutters or chocolate molds made of silicone
- All kinds of decoration, such as pearls, flowers, herbs or shells
- Water
How it goes:
- Ready, set, go, make the soap. Now the fun of making DIY soap can begin. For our simple soap recipe, we first need soap flakes. If you are not using ready-made flakes, you will now need to grate the soap pieces into fine shavings using the kitchen grater. This is easier if you warm the grater a little, but be careful not to make it too hot so that you don't get burned.
- You can now put the finished shavings into a bowl. Mix them with lukewarm water to make a solid paste. You don't need a lot of water for this; if the mixture becomes too thin, you can add more soap flakes. If you want to try out different ideas, scents or colors, you can now divide the soap base mixture into several bowls.
- Now color comes into play! The part of soap making that is probably the most fun for children in particular is when the colors and scents make the whole thing interesting. Is the soap supposed to be a gift for loved ones? Then the soap can be made according to individual wishes. For example, each color can represent a special scent.
- The soap can then be shaped. Various shapes can be used to help with this, such as cookie cutters. But you can also implement your own creative ideas by hand. Depending on the age of the children, the flakes can also be liquefied in a water bath and then poured into chocolate molds. But be careful: there is a risk of burns and these types of DIY soap making are only recommended for older children.
- Now the soap has to harden. The soap should stay in its mold for at least 12 hours and even after it has been removed it should dry for at least two weeks before it is used for the first time. This makes the soap a perfect DIY gift, because it can keep the impatience of wanting to try out the new product straight away somewhat in check.

Make your own soap - for advanced
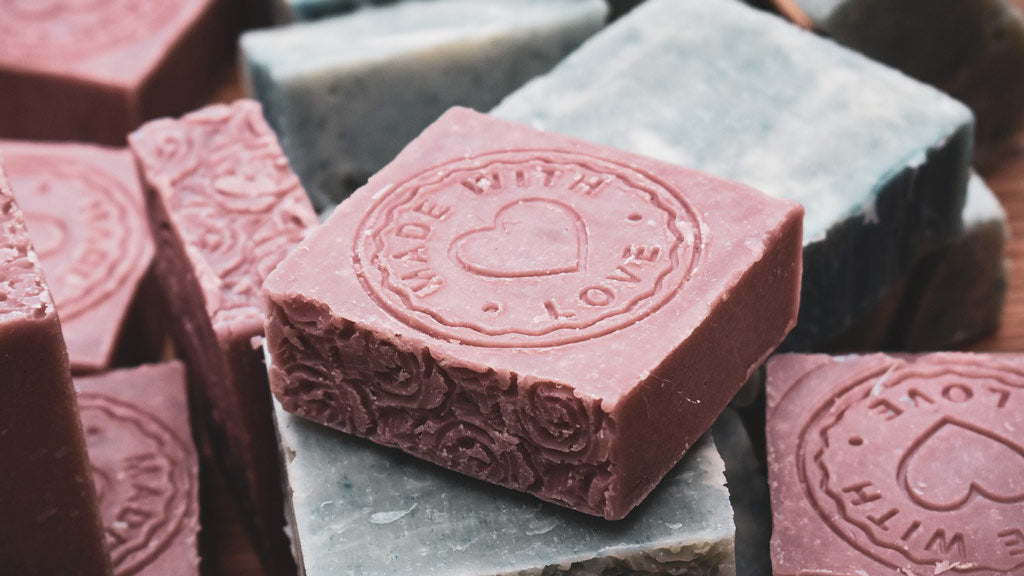
There are no limits to children's creativity when making soap yourself. Whether it's unicorn soap in rainbow colors, pirate soap with a skull look or classic soap with a surprise inside, many things are possible and, as long as you have the right molds, it's child's play to make them. You can also pour soap bars and press them together with a rolling pin to play with different color gradients or use flowers to create color patterns that the children can mix with the soap colors. Making soap yourself is an event for the whole family or for parties, and the little guests can take the results home with them as gifts.
We hope that this recipe has given you a great idea for the next child's birthday party or the next bad weather day. With our tips, making soap will be child's play and the results will be impressive. We hope you have fun making your own soap!