The special charm of homemade toys for your baby lies in the high degree of individuality and, above all, in the safety of the materials used. Only when you make baby toys yourself do you have full control. At the same time, it is also a lot of fun.
But we want to go one step further: Our ideas relate to baby toys that you can make from sustainable materials (upcycling). What that means exactly and what you should generally pay attention to when making baby toys yourself, we will explain in the course of our article.
You can let your creativity run free and create the baby toy that suits you best in terms of style, materials and manufacture. Some prefer to sew, others would rather do handicrafts, crochet or assemble something. To give you some DIY ideas, we have selected one baby toy from each of three different areas and are giving you detailed instructions.
What does upcycling mean?
With upcycling, supposedly unusable old things are transformed into something new, better and of higher quality. In the case of recycling, as is the case with glass, the later product loses quality. When upcycling, however, such as when making furniture from old Euro pallets, the value is increased.
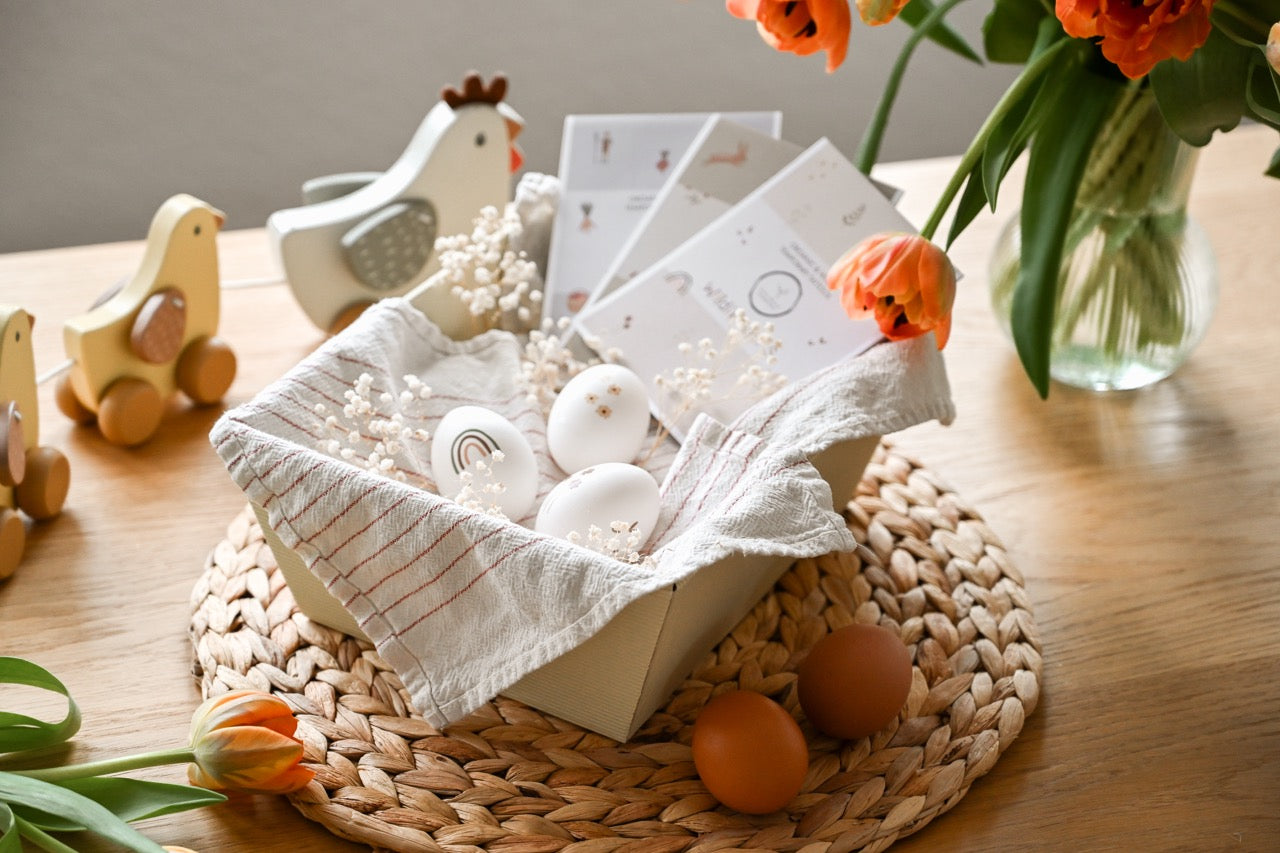
So if you sew a baby toy out of an old towel or make a tealight holder out of an empty tin, you're doing upcycling at its finest.
What should you pay attention to with baby toys in general?
First of all, the voices and faces of the parents are exciting enough for newborn babies. A pretty mobile over the crib and possibly a comforter is all a baby otherwise needs or finds interesting.
However, when it gets a little older, your baby will enjoy many different sounds, shapes, colors and haptics. This is exactly where you come in - and we with our ideas of making baby toys yourself.
When making baby toys, you have to consider that your child will touch the toy with his hands and especially with his mouth. So it goes without saying that the toy must also be safe. Here are some more hints:
- The materials used should be non-toxic.
- If you buy finished toys, they should have the necessary security seals and certificates.
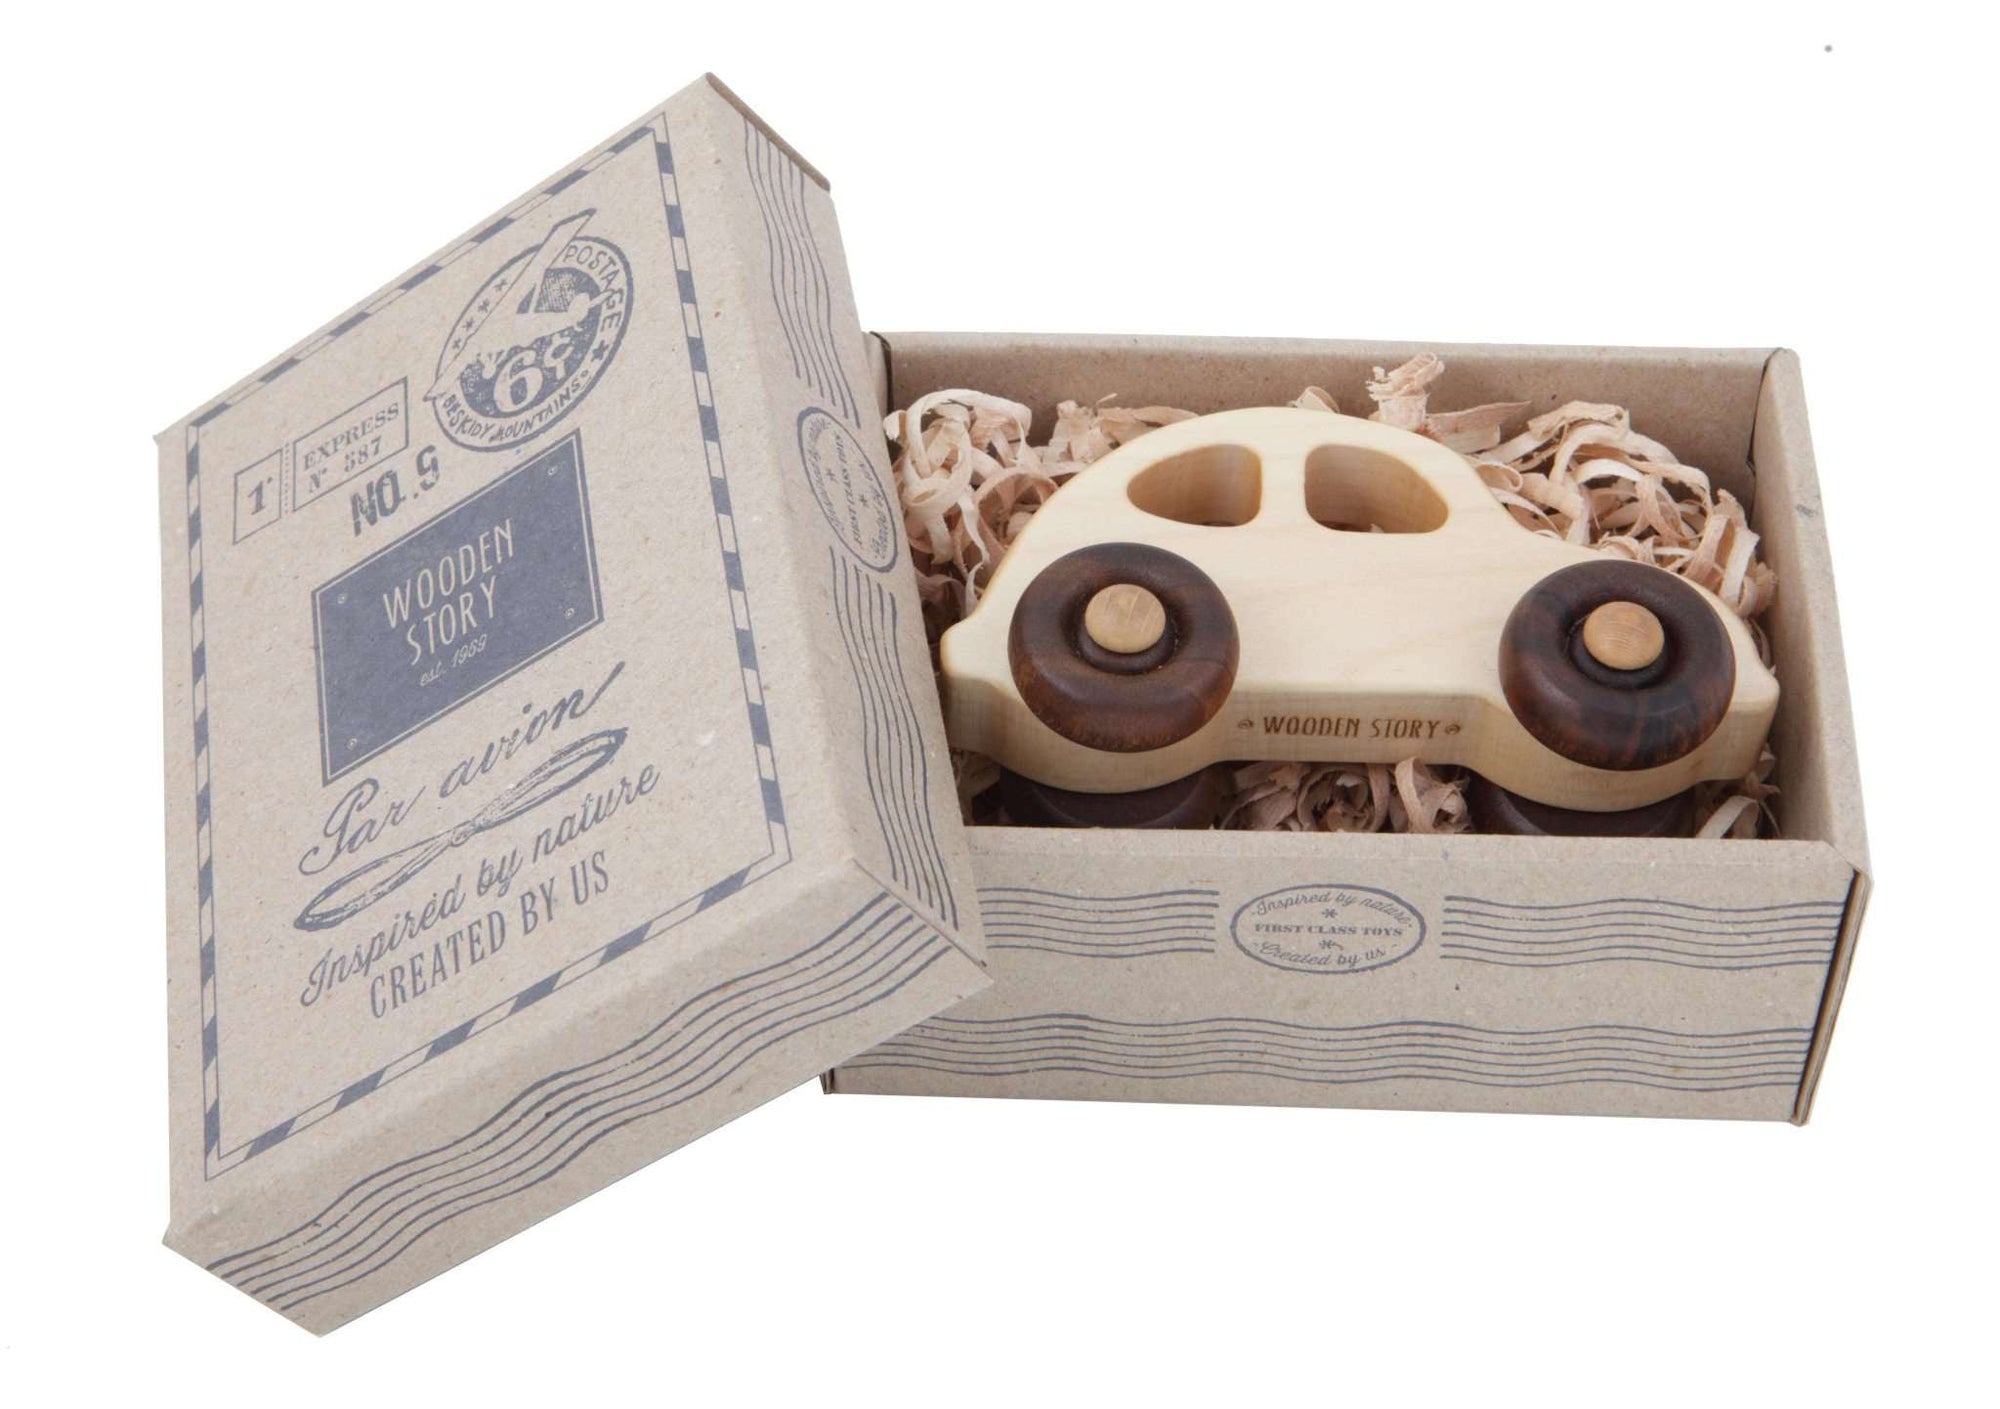
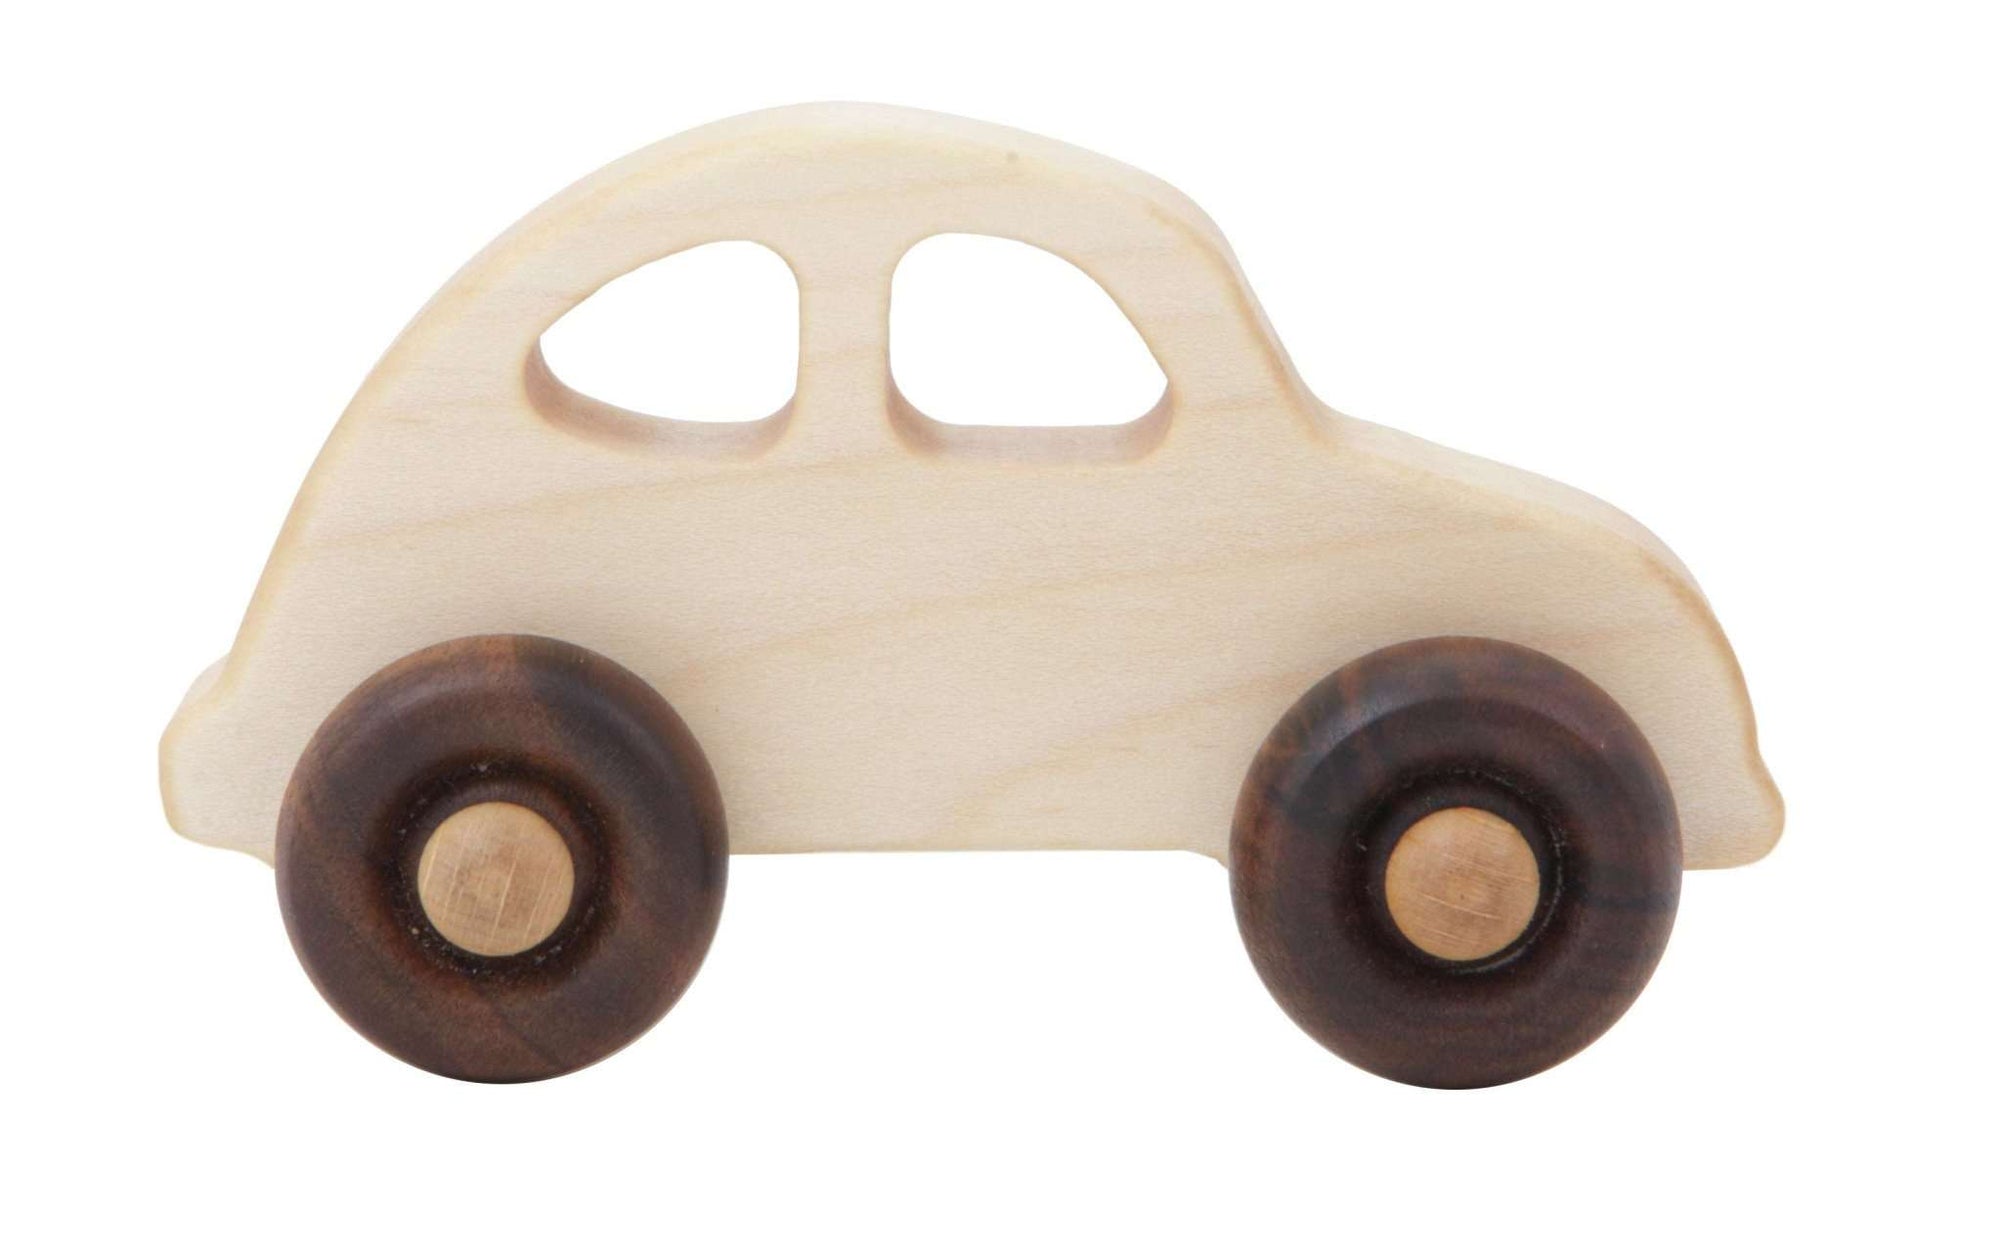
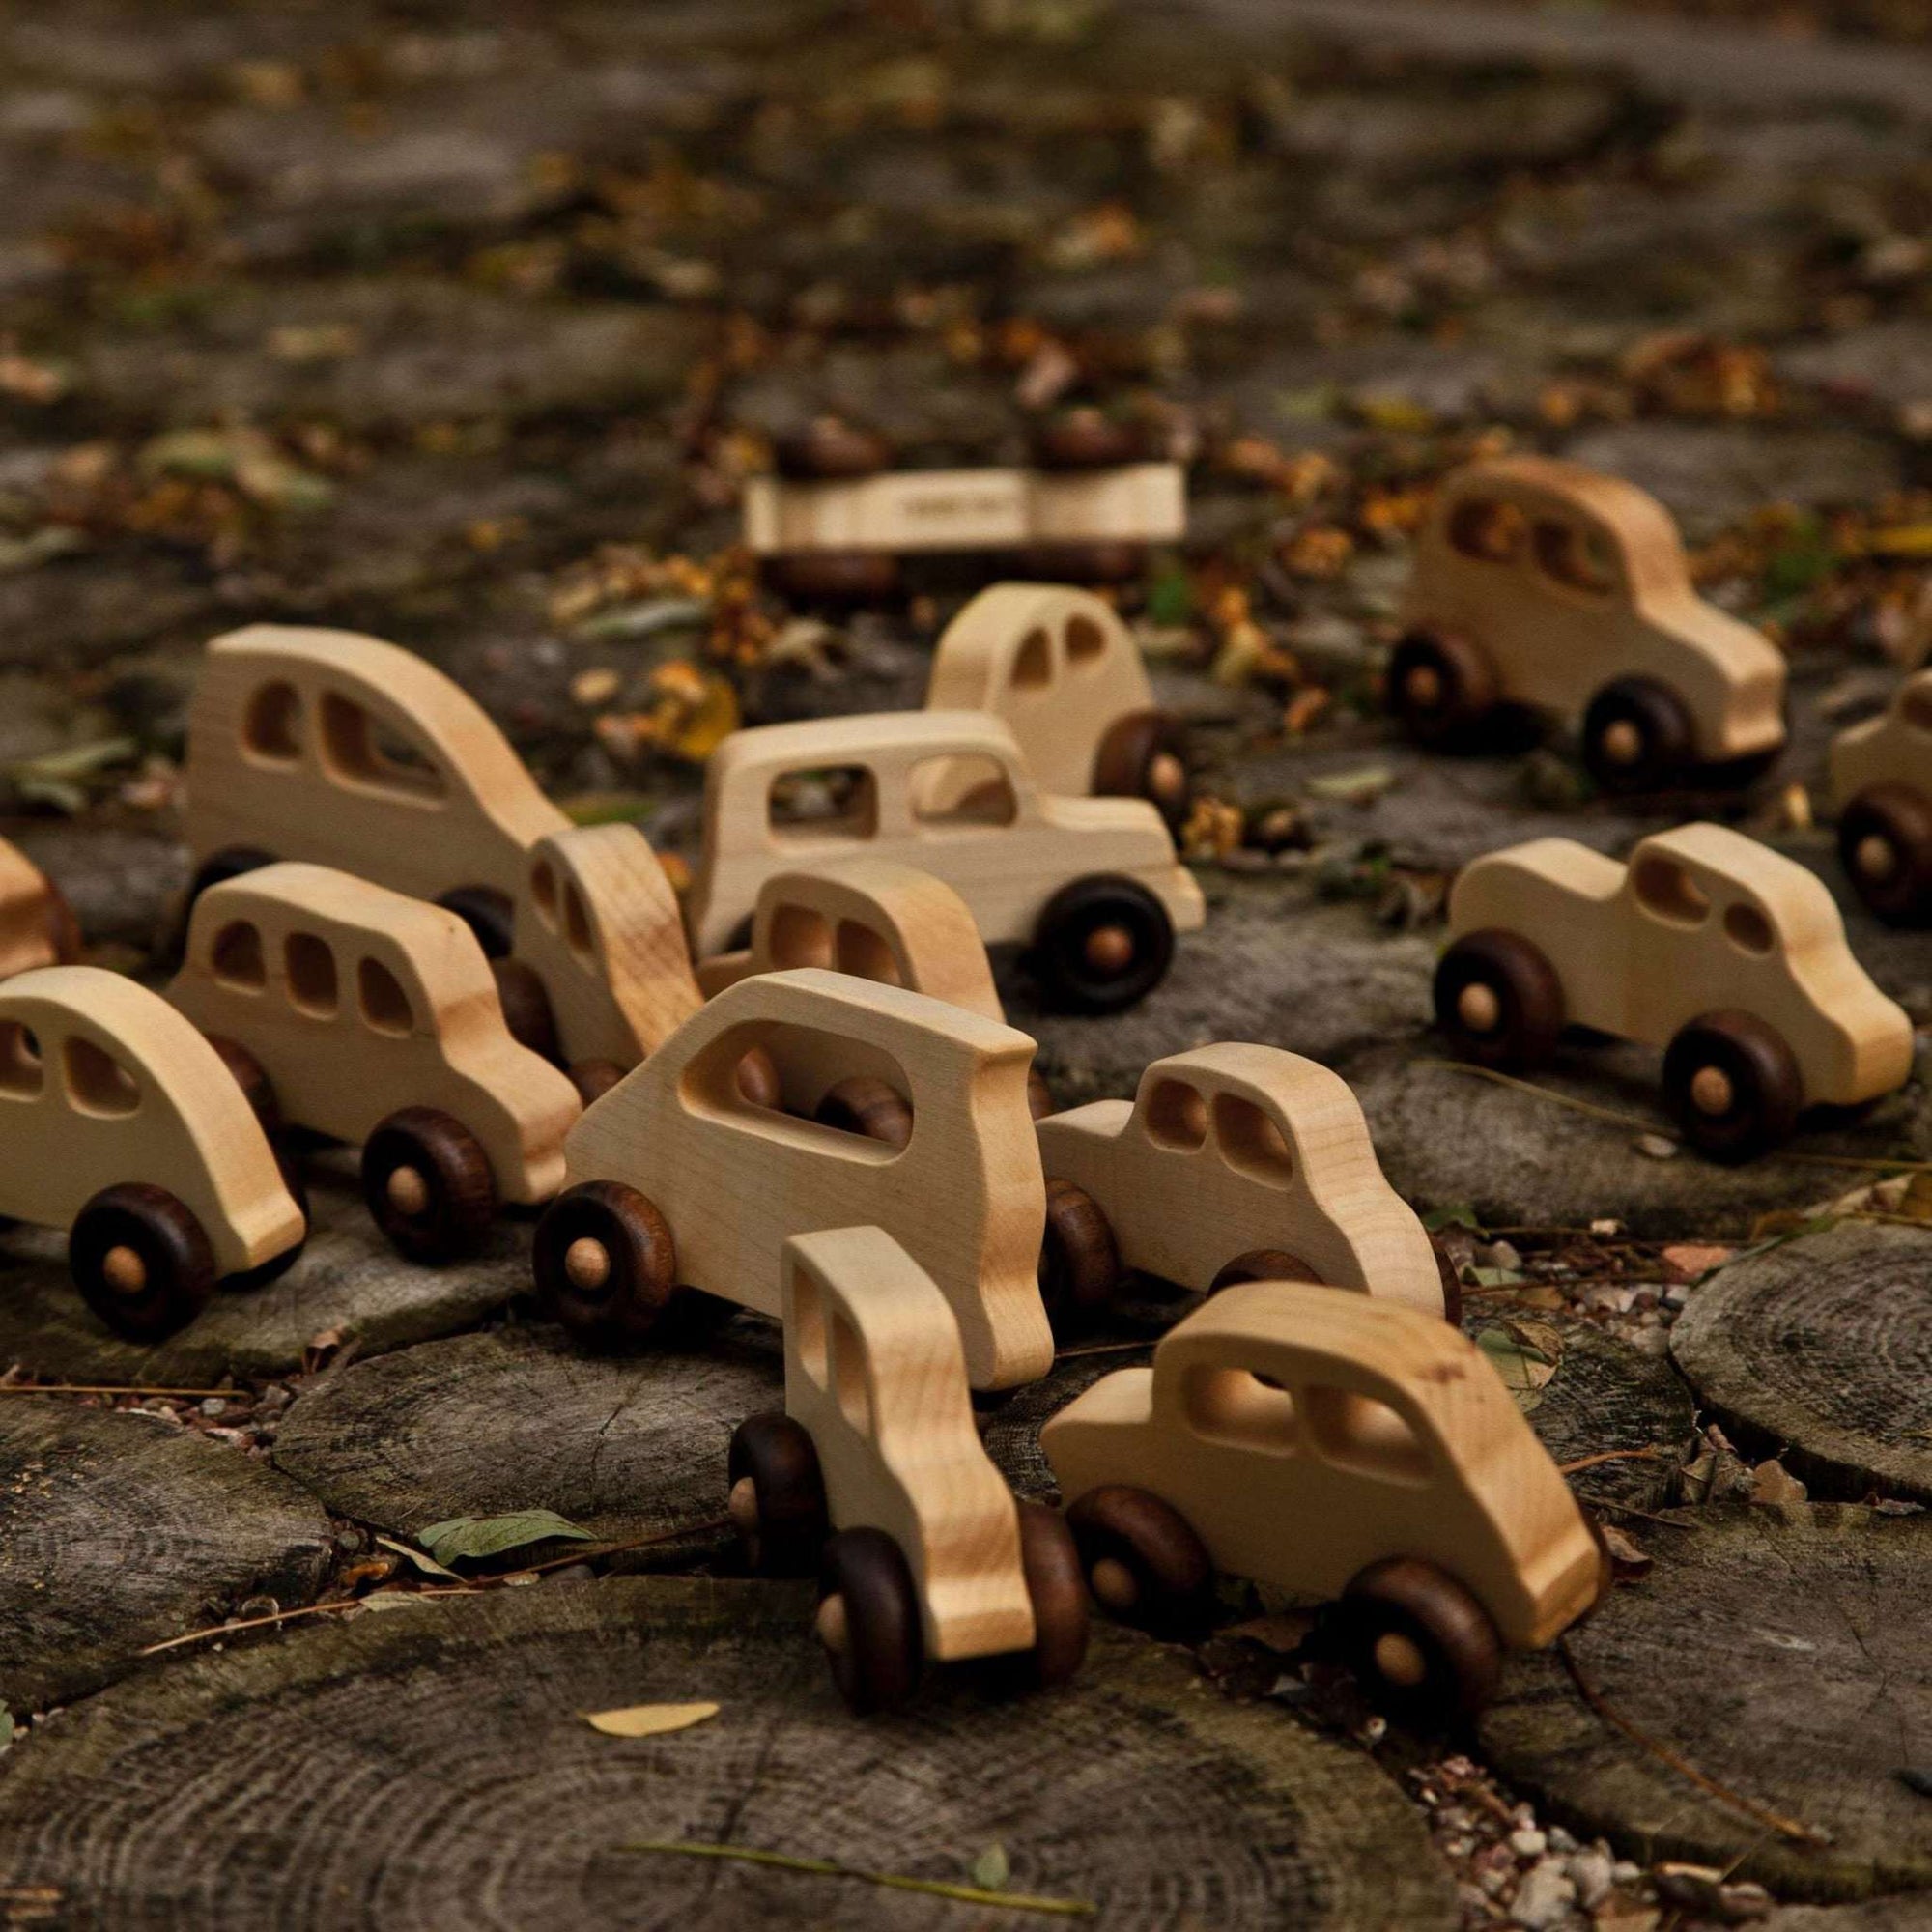
- Wood is better than plastic. If plastic, then BPA-free.
- The toy should smell neutral. If you notice an unpleasant odor, it is probably due to evaporating chemicals. Better keep your hands off it.
- The toy should not have too small parts that could fall off and be swallowed.
- If you buy something with a noise, such as a rubber ducky, make sure the noise isn't too loud - it will damage baby's hearing.
- Make sure that there are no dangerous corners and edges (burrs).
Once you've mastered the basics, you can start sewing, crafting, building, making lace, crocheting, knitting, or whatever hobby you'd like to pursue.
Sewing: crackle cloth
If you are particularly into sewing, you will definitely have fun making a crinkle cloth for your darling. You are completely free in the design, in the materials and extras to be used. A crackling cloth is great for upcycling many different materials and items.
If your baby is just taking his nap or actually falls asleep in the evening without any problems, you can devote yourself to your hobby at your leisure.
What is a crackle cloth actually?
As the name suggests, it is a piece of fabric that crackles nicely when touched, making it interesting for baby. The crackle is achieved by sewing in a layer of material that rustles interestingly.
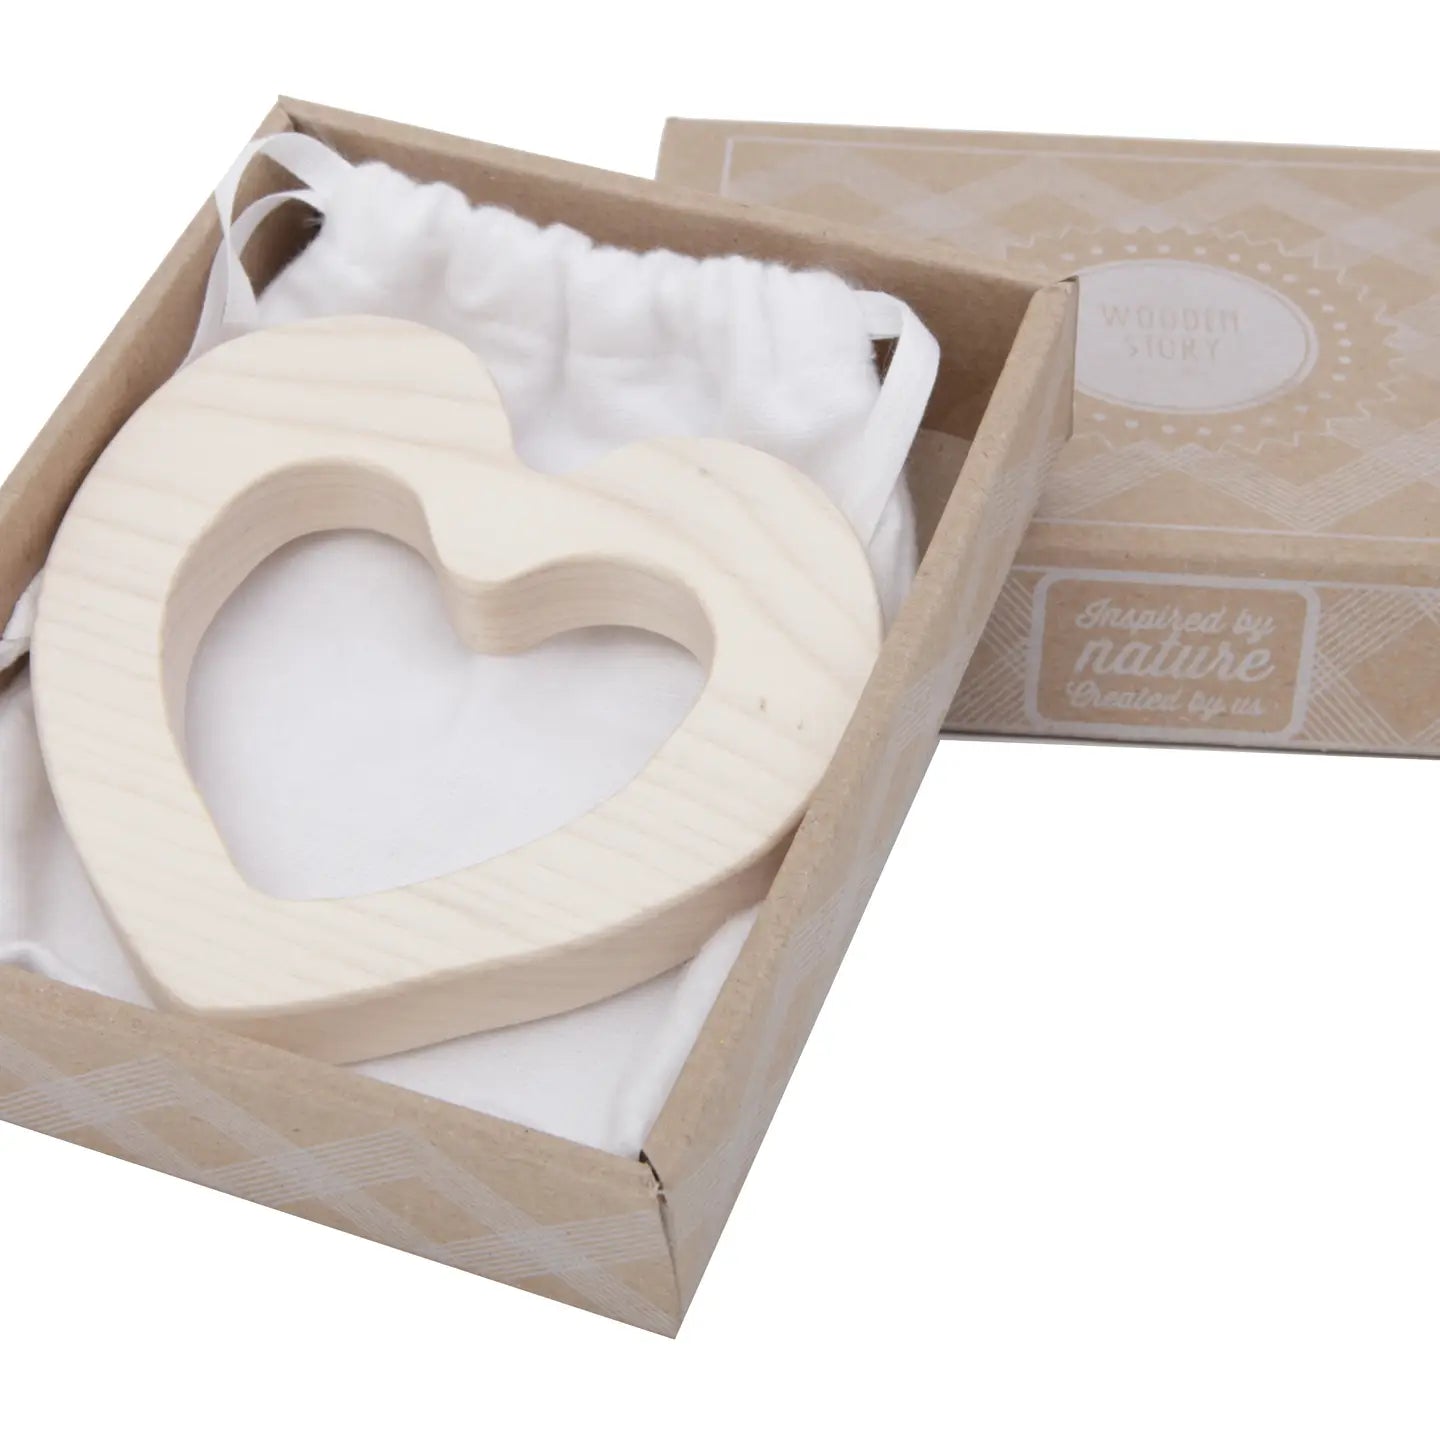
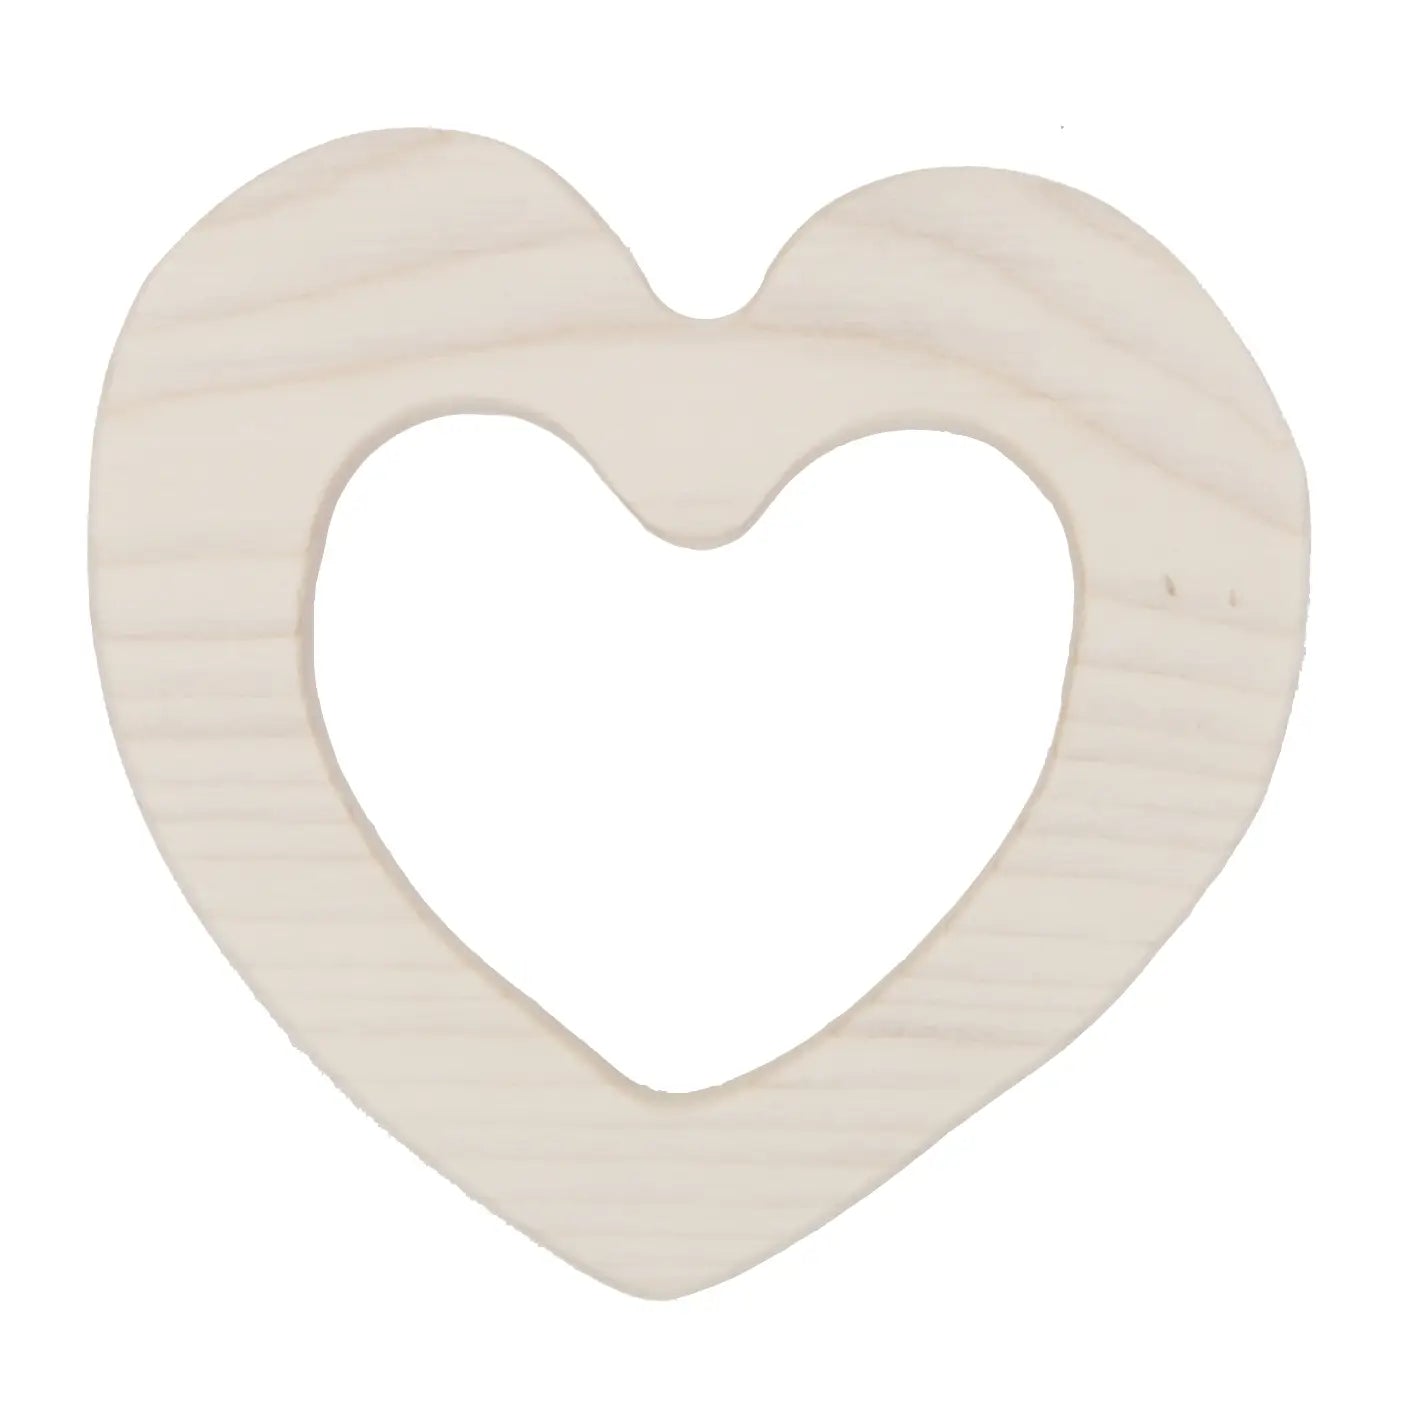
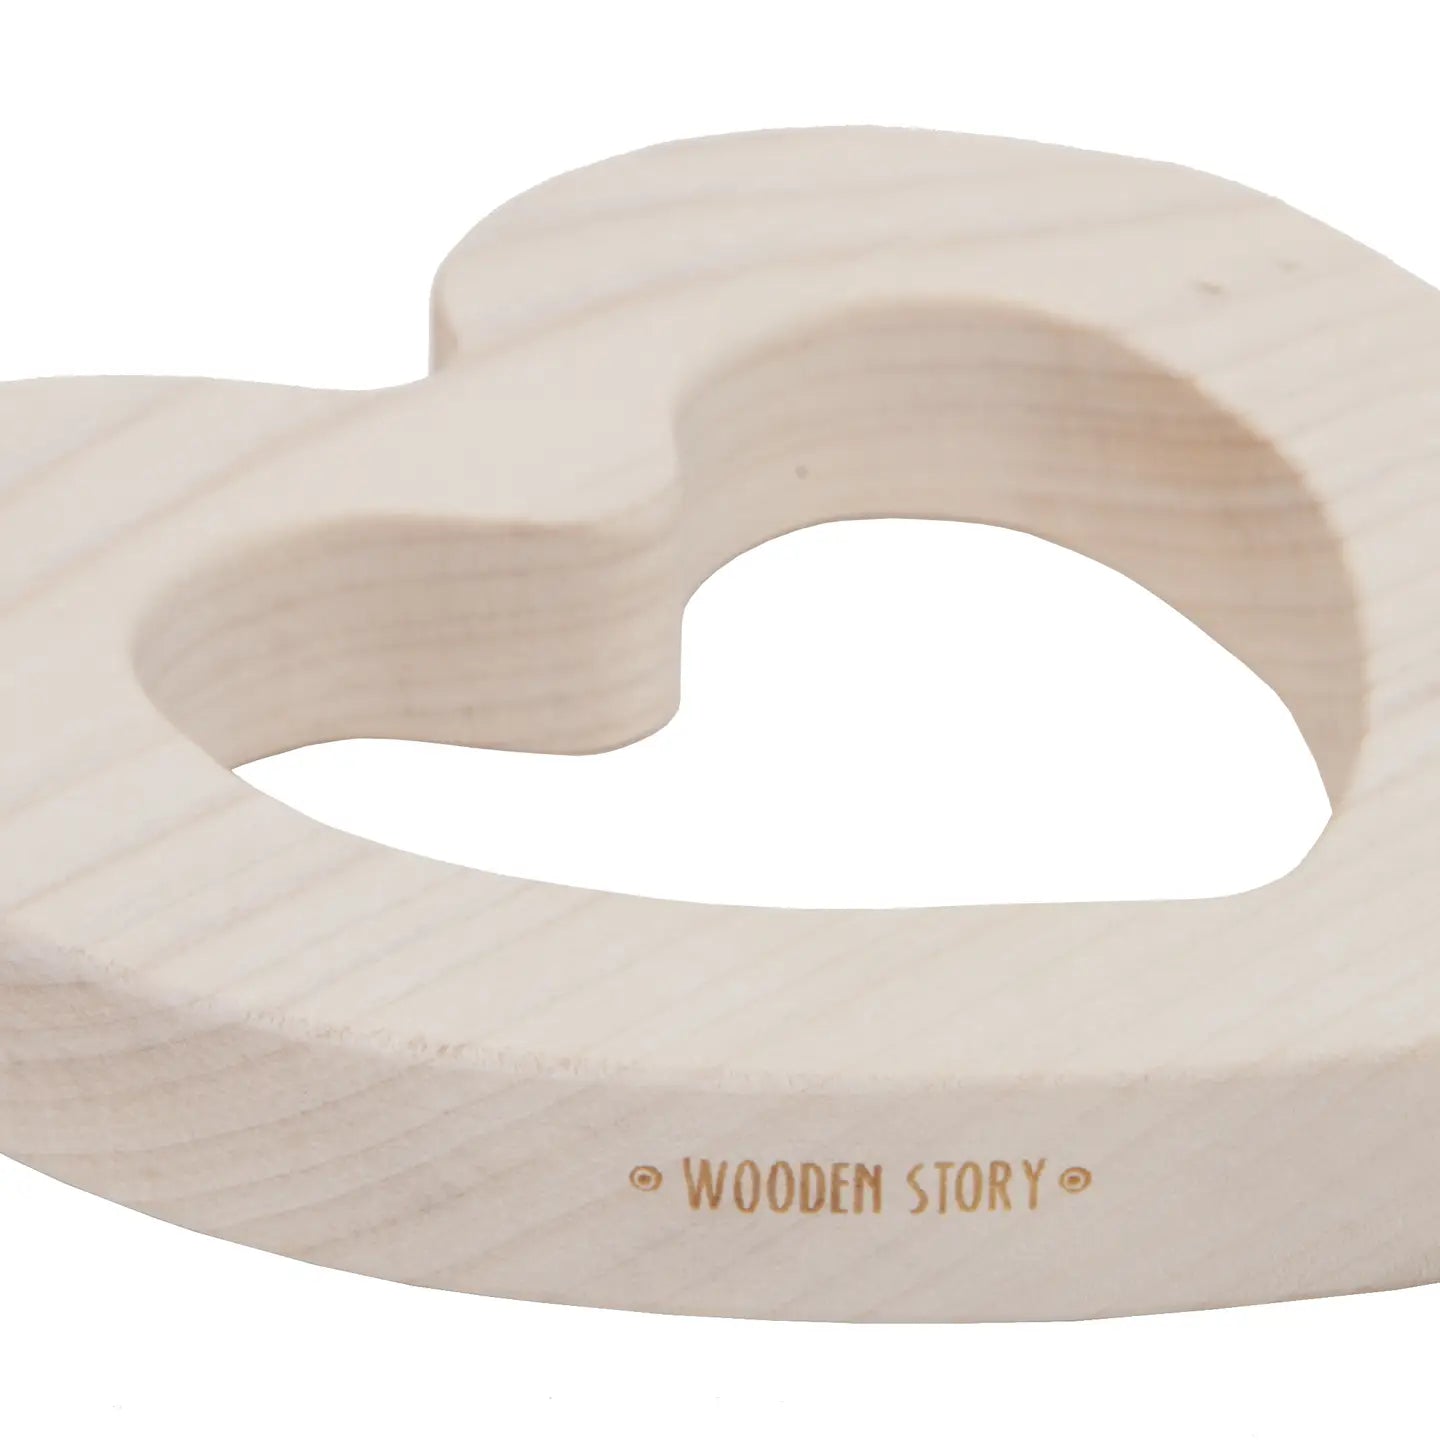
In addition to the crackling, you can sew many different things onto the crackling cloth that could be exciting for the baby and train its fine motor skills, such as a wooden teething ring, a subtle bell or a piece of felt or velvet.
By the way: 15-20 x 15-20 cm is the perfect size for a crackling towel.
What can you use for a crackling cloth - especially from the point of view of upcycling?
Basically (almost) anything goes, as long as it is safe. What you definitely need are some scraps of fabric. You can use an aging towel, an old blouse or jeans that you no longer wear, or leftover fabric from other sewing and handicraft projects such as velvet, felt, plush or teddy fabric.
Then you need the crackle layer. A roasting hose or an emergency blanket from the first-aid kit in the car are particularly suitable (don’t forget to refill!). Both rustle wonderfully. Of course, with the upcycling in mind, you can take a used roasting tube that you rinse thoroughly and disinfect if necessary. Even transparent wrapping paper, from a gift that was once given to you, crackles very well and is also robust.
|
Important NOTE You should definitely cut a lot of holes into the crackling layer - for example the roasting tube. If the baby falls asleep while playing with the cloth on his face, he can continue to breathe unhindered.
|
Finally, you need a few extras for your homemade baby toy. This can be for example:
- a teether
- leather fringes
- a thick knot of fabric that you sew on at one corner
- a wool braid (from Strickliesel)
- large wooden beads with a hole in the middle
- Bobbles of every type, shape and size
- a small stuffed animal and much more.
All you need now is your sewing machine, thread, scissors and a little skill and patience.
Sew a crackling cloth: This is how it's done:
Here is a step-by-step guide to sewing a crinkle cloth from upcycled materials:
- Have all the utensils, the leftover fabric, the crackling material and all the extras ready.
- Cut out a square of eg 15x15 cm from a scrap of fabric and place it on your work surface with the “good” side facing you.
- Now put all the utensils that should be on the crackling cloth in the end on the fabric so that they point inwards (after turning them over later, they will be oriented outwards).
- Now place a second square of fabric of the same size on top of all the extras. Lay the fabric so that the “good” sides are facing each other (so the inside is looking at you now) and secure the fabric and extras with pins or strong clothespins.
- Next comes the crackling layer: For this you cut a piece of roasting hose to the same size and then place it on top of the fabric. Don't forget to cut the air holes!
- Now you sew all the layers together with the sewing machine all around and also sew all the extras twice. But leave out an opening of around 6 to 7 centimeters at the edge so that you can later turn the cloth inside out.
- Now you have to fiddle a little and turn the cloth completely through the opening.
- If you like, you can add a nice decorative seam all around and sew on more applications by hand. If you do not want to make a decorative seam, you must at least rework and close the opening for turning.
Your baby will surely have a lot of fun with your homemade baby toys.

Crafts: Pimp my Hula Hoop
Maybe you still have an old hula hoop somewhere in the basement that you haven't used in years. Now you can give the good piece a new meaning. Similar to the crackling cloth, you can also use a wide variety of leftovers and leftovers from other craft activities.
In the end, the hula hoop should also train baby's reflexes and strengthen fine motor skills. Suitable materials are ribbons, cords and fabrics of all kinds, a teething ring, wool, "sausages" from the Strickliesel, bobble, a stuffed animal or even an old (and washed in the washing machine at 90°C) mop.
You can now fasten all of these objects around the hula hoop as you wish. Fabrics and wool are wonderfully easy to wrap around. You can cut a stuffed animal in the middle, put it around the hoop and sew it up again. Cords, bobbles and the like can be easily tied. The same applies here: Only your creativity (and the safety of the child) set the limits here.
Build: Activity Board
If you are a little handy or enjoy working with wood, hammer and screws, an activity board is a wonderful upcycling project. The special feature is that you can adjust the board over the years and thus create an age-appropriate toy.
Basically, an activity board is a more or less large wooden plate on which you can attach a wide variety of things. For very small babies, a protective cover made of foam and/or fabric is recommended. Depending on the age of the child, you can attach bobbles, different structures, balls, ribbons and more to the board. Later you can also attach an old calculator, various puzzles and games of skill, a used light switch and much more to the board. This keeps the activity board interesting over the years and you can give a new meaning to many different objects - under the idea of upcycling.
How YOU want to build the board is entirely up to you. In principle everything is possible. Just make sure it's age appropriate and safe. For example, sand the edges of the board all around and secure the board against falling over (or screw it firmly to the wall right away).
You can also saw out small flaps and attach them with hinges. Behind it there are always new things like photos or a candy (similar to an advent calendar).
Making baby toys yourself is a lot of fun in itself. If you also give it a deeper meaning by upcycling old items, then it's twice as much fun.
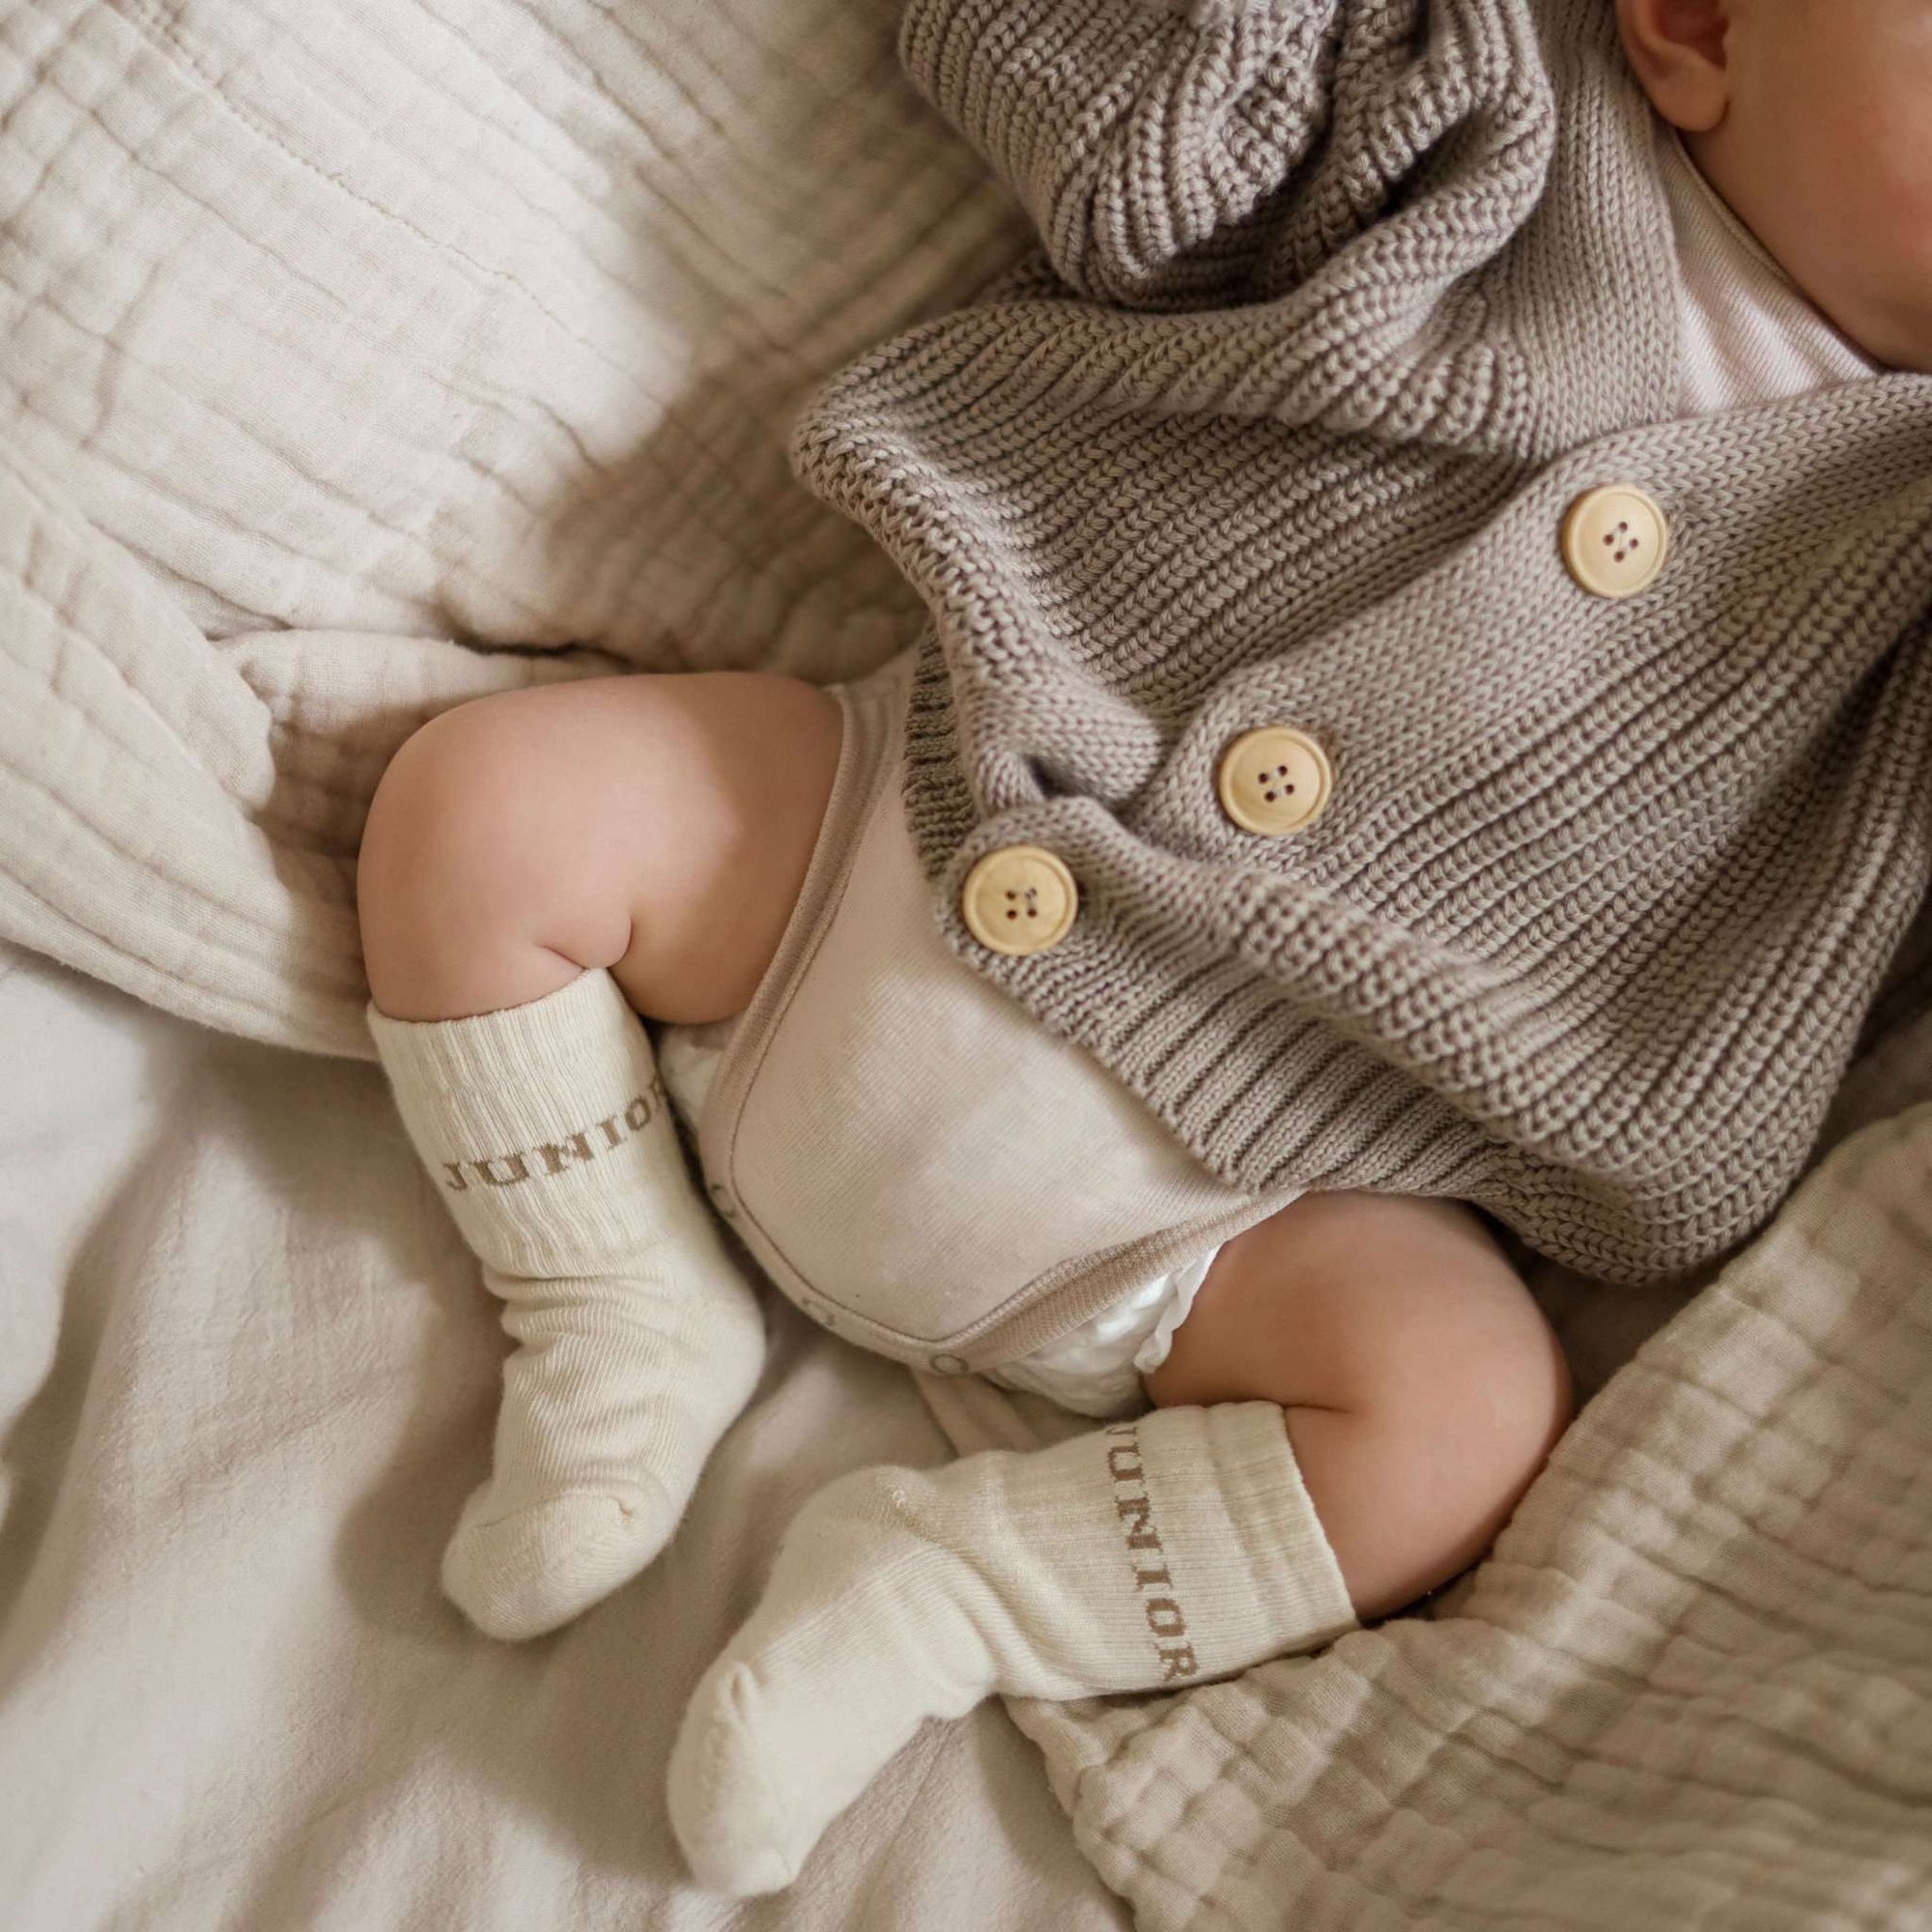
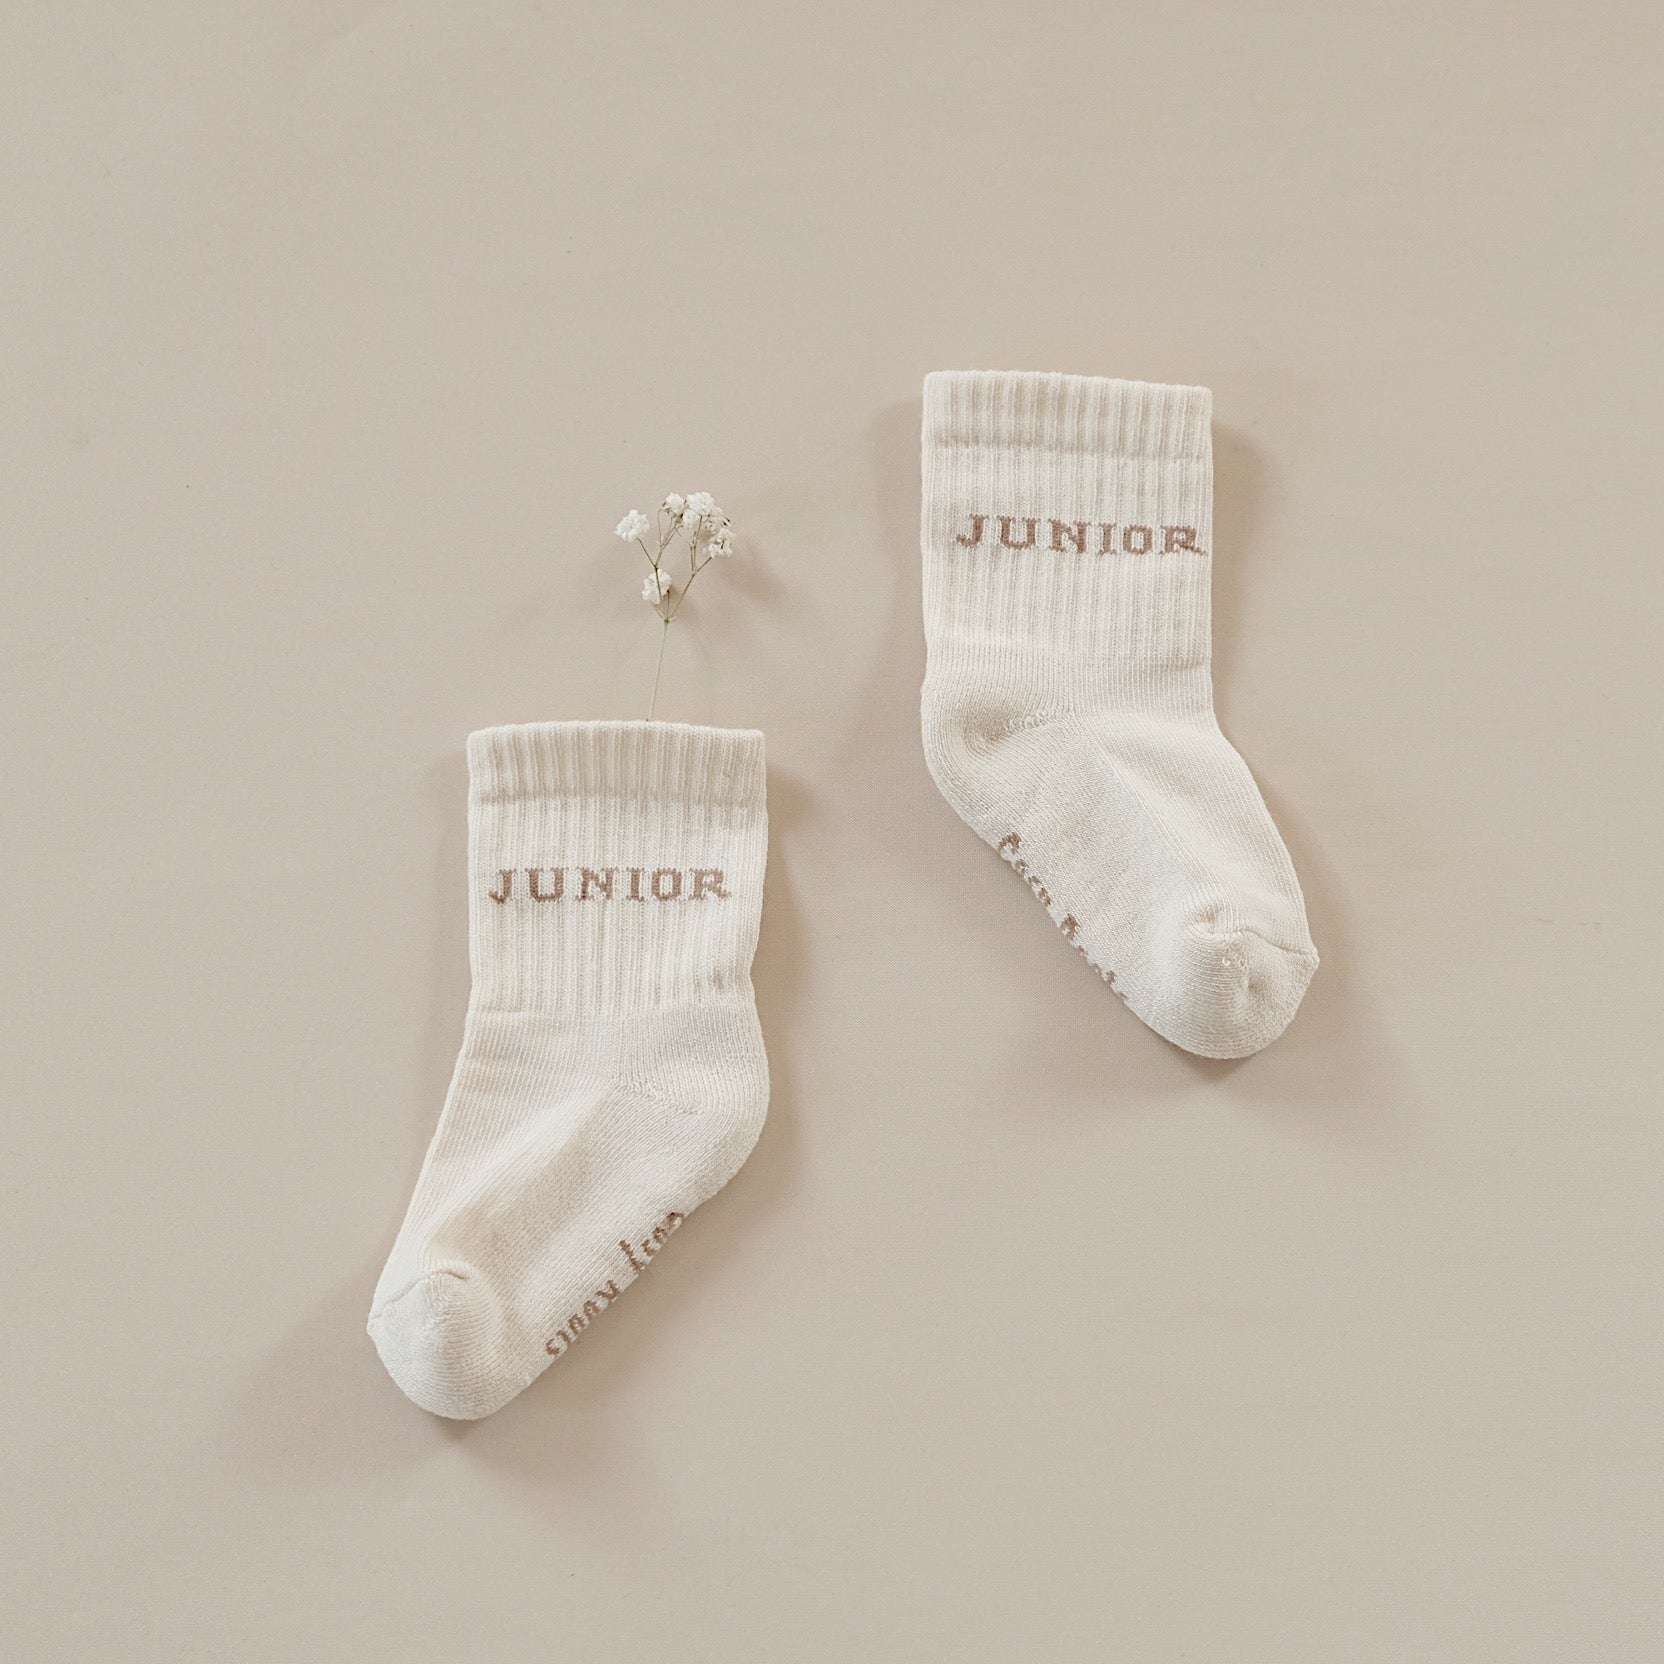
In this sense, happy sewing, tinkering and building. If you want to do something good for your baby, just drop by our shop and take a look at our vegan booties or cute dungarees .